
DIY Neon Triangle Nail Art Tutorial
Explore a fun DIY tutorial for creating vibrant neon triangle nail art. Get step-by-step instructions and a list of materials needed to achieve this colorful design.
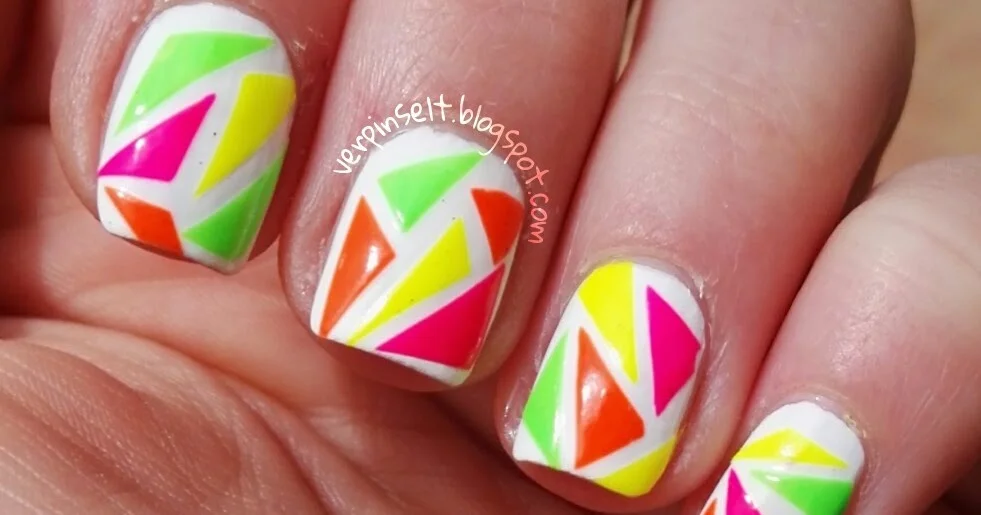
Hello everyone!
Today, I'm excited to share a vibrant nail art tutorial featuring neon triangle designs that are sure to brighten your day!
What You'll Need:
1. A clear plastic sheet
2. White nail polish (I used "33 Wild White Way" from Essence)
3. Colored nail polishes of your choice (I used: "F3-1" & "G5-3" from Yes Love, "Flamingo" from Beauty Woman, and "N014" from Flormar)
4. Scissors
5. Tweezers
6. A top coat of your choice
Step-by-Step Instructions:
1. Apply your selected colored polishes side by side in at least two layers onto the clear plastic sheet and allow it to dry thoroughly.
2. Carefully peel off the dried polish and cut it into triangle shapes.
3. Adhere the triangles onto your nails.
4. Seal everything in place with a top coat.
Here’s how the finished product looks:

Photographed in sunlight

Also in the sun


And in the shade
I hope you enjoyed this tutorial! Looking forward to seeing you in the next post!
Until then,
Carry