
Mastering Reverse Stamping: A Guide to Comic Nail Art with MoYou
Explore the fun of Reverse Stamping with this detailed tutorial on creating vibrant comic nail art using MoYou's stamping plate. Perfect for nail art enthusiasts!
Happy Easter, everyone!
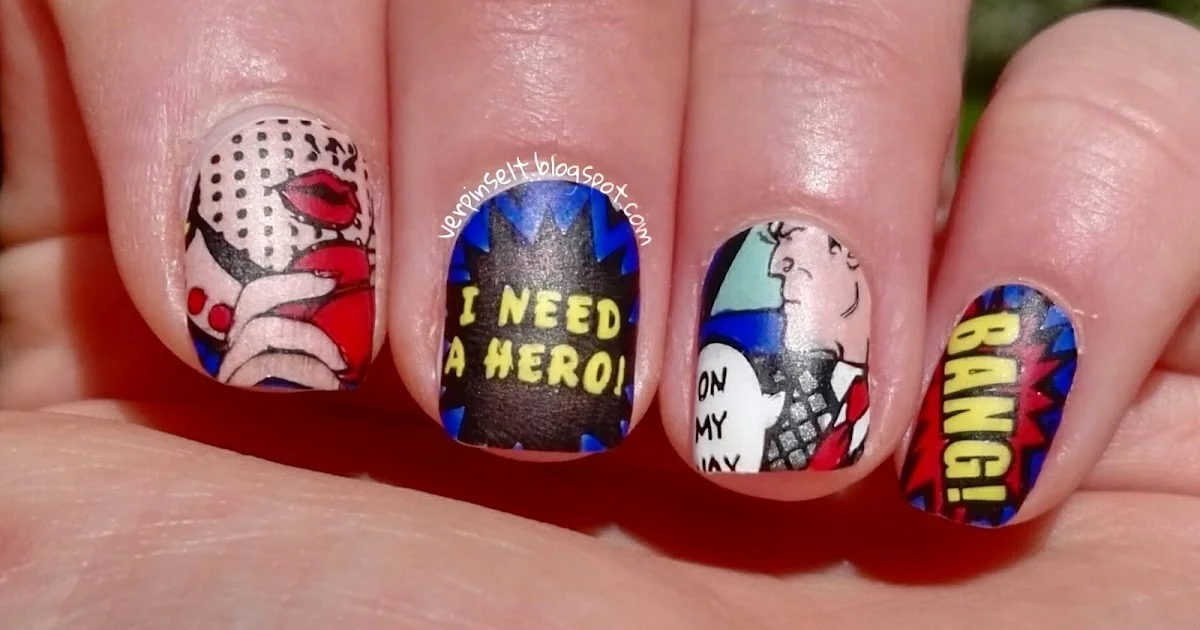
Today, instead of showcasing traditional Easter nail art, I’m excited to share a fun technique called Reverse Stamping, which I promised in my last post. While it may require a bit of finesse, the results are definitely worth the effort. Reverse Stamping is a straightforward method that can bring vibrant comic designs to your nails.
What You Need:
1. A stamping plate of your choice (I used the Comics Plate 03 from MoYou)
2. A stamper, of course! :D
3. Nail polishes for coloring the designs (I used: "02 Iced Strawberry Cream", "29 Glam Girl", "31 Elecriiiiiic", and "146 That’s What I Mint" from Essence, "#17 Yellowness" from RdLy, and "67 Greyday, Greayday" from Catrice)
4. Dotting tools or toothpicks for coloring
Steps to Follow:
1. Choose a design from your selected plate and transfer it onto the stamper as usual. Allow it to dry on the stamper.
2. Use dotting tools or a toothpick to color in the design, and let it dry thoroughly.
3. Apply a layer of clear polish over the colored design and allow it to dry.
4. Carefully peel off the resulting decals and place them on your nails.
5. Seal everything with a top coat.
And voilà:

Captured in sunlight...

...and here it is in natural light indoors.
I hope you enjoyed this little tutorial and found it easy to follow. I also hope you liked my take on Reverse Stamping. Now, it’s time to go on another egg hunt, and I’ll see you next time!
Carry