
Colorful Stamping with the Clear Jelly Stamper: A Review
Join me as I explore the vibrant world of colorful stamping with the Clear Jelly Stamper. Discover my experiences, tips, and nail art results!
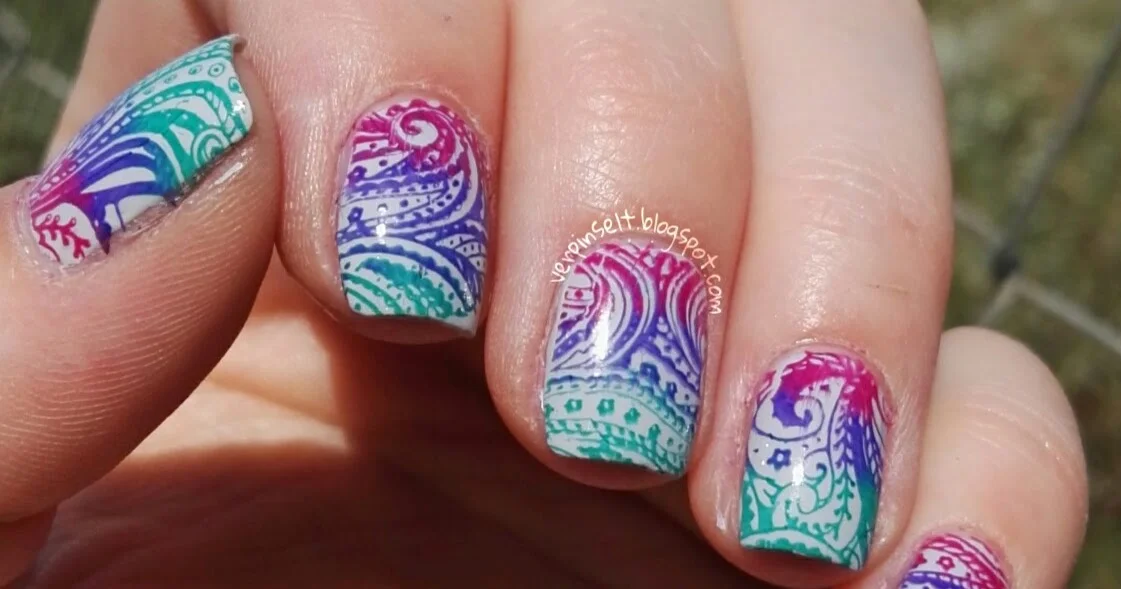
Happy weekend, everyone!
I just got home from work and wanted to share this post before I run out of time. With the lovely weather we’re having, I decided to brighten my nails with some vibrant colors. This not only boosts my mood but also marks my first successful attempt at using my new Clear Jelly Stamper.
Let me start by saying that I absolutely adore this stamper. It’s incredibly soft, allows for perfect visibility, and makes the stamping process much easier. Plus, it’s quite affordable and well-made. However, I did encounter a few minor challenges. My initial stamping attempts last weekend were less than successful, as the polish simply wouldn’t adhere. After some quick research online, I found that washing the stamping pad with soap might help. I tried it, but unfortunately, it didn’t work.
Eventually, I received a tip from a nail polish group on Facebook suggesting I clean it with acetone-free nail polish remover. I was initially skeptical, having read warnings against using nail polish remover, but I decided to give it a try. To my relief, it worked perfectly, and nothing was damaged. I can confidently recommend this product!
Now, let’s talk about my nails. I started with two coats of "70 Grey Zone" by Essence. For the stamping, I used three colors: "120 Urban Turquoise" from Maybelline, a nameless purple polish from Primark, and a now nameless pink polish from Manhattan. Here’s how they turned out:

Unfortunately, the color transition didn’t turn out as I had hoped...

...but I still like it!


What do you think of my three-color stamping? I definitely plan to do this more often.
See you in the next post,
Carry